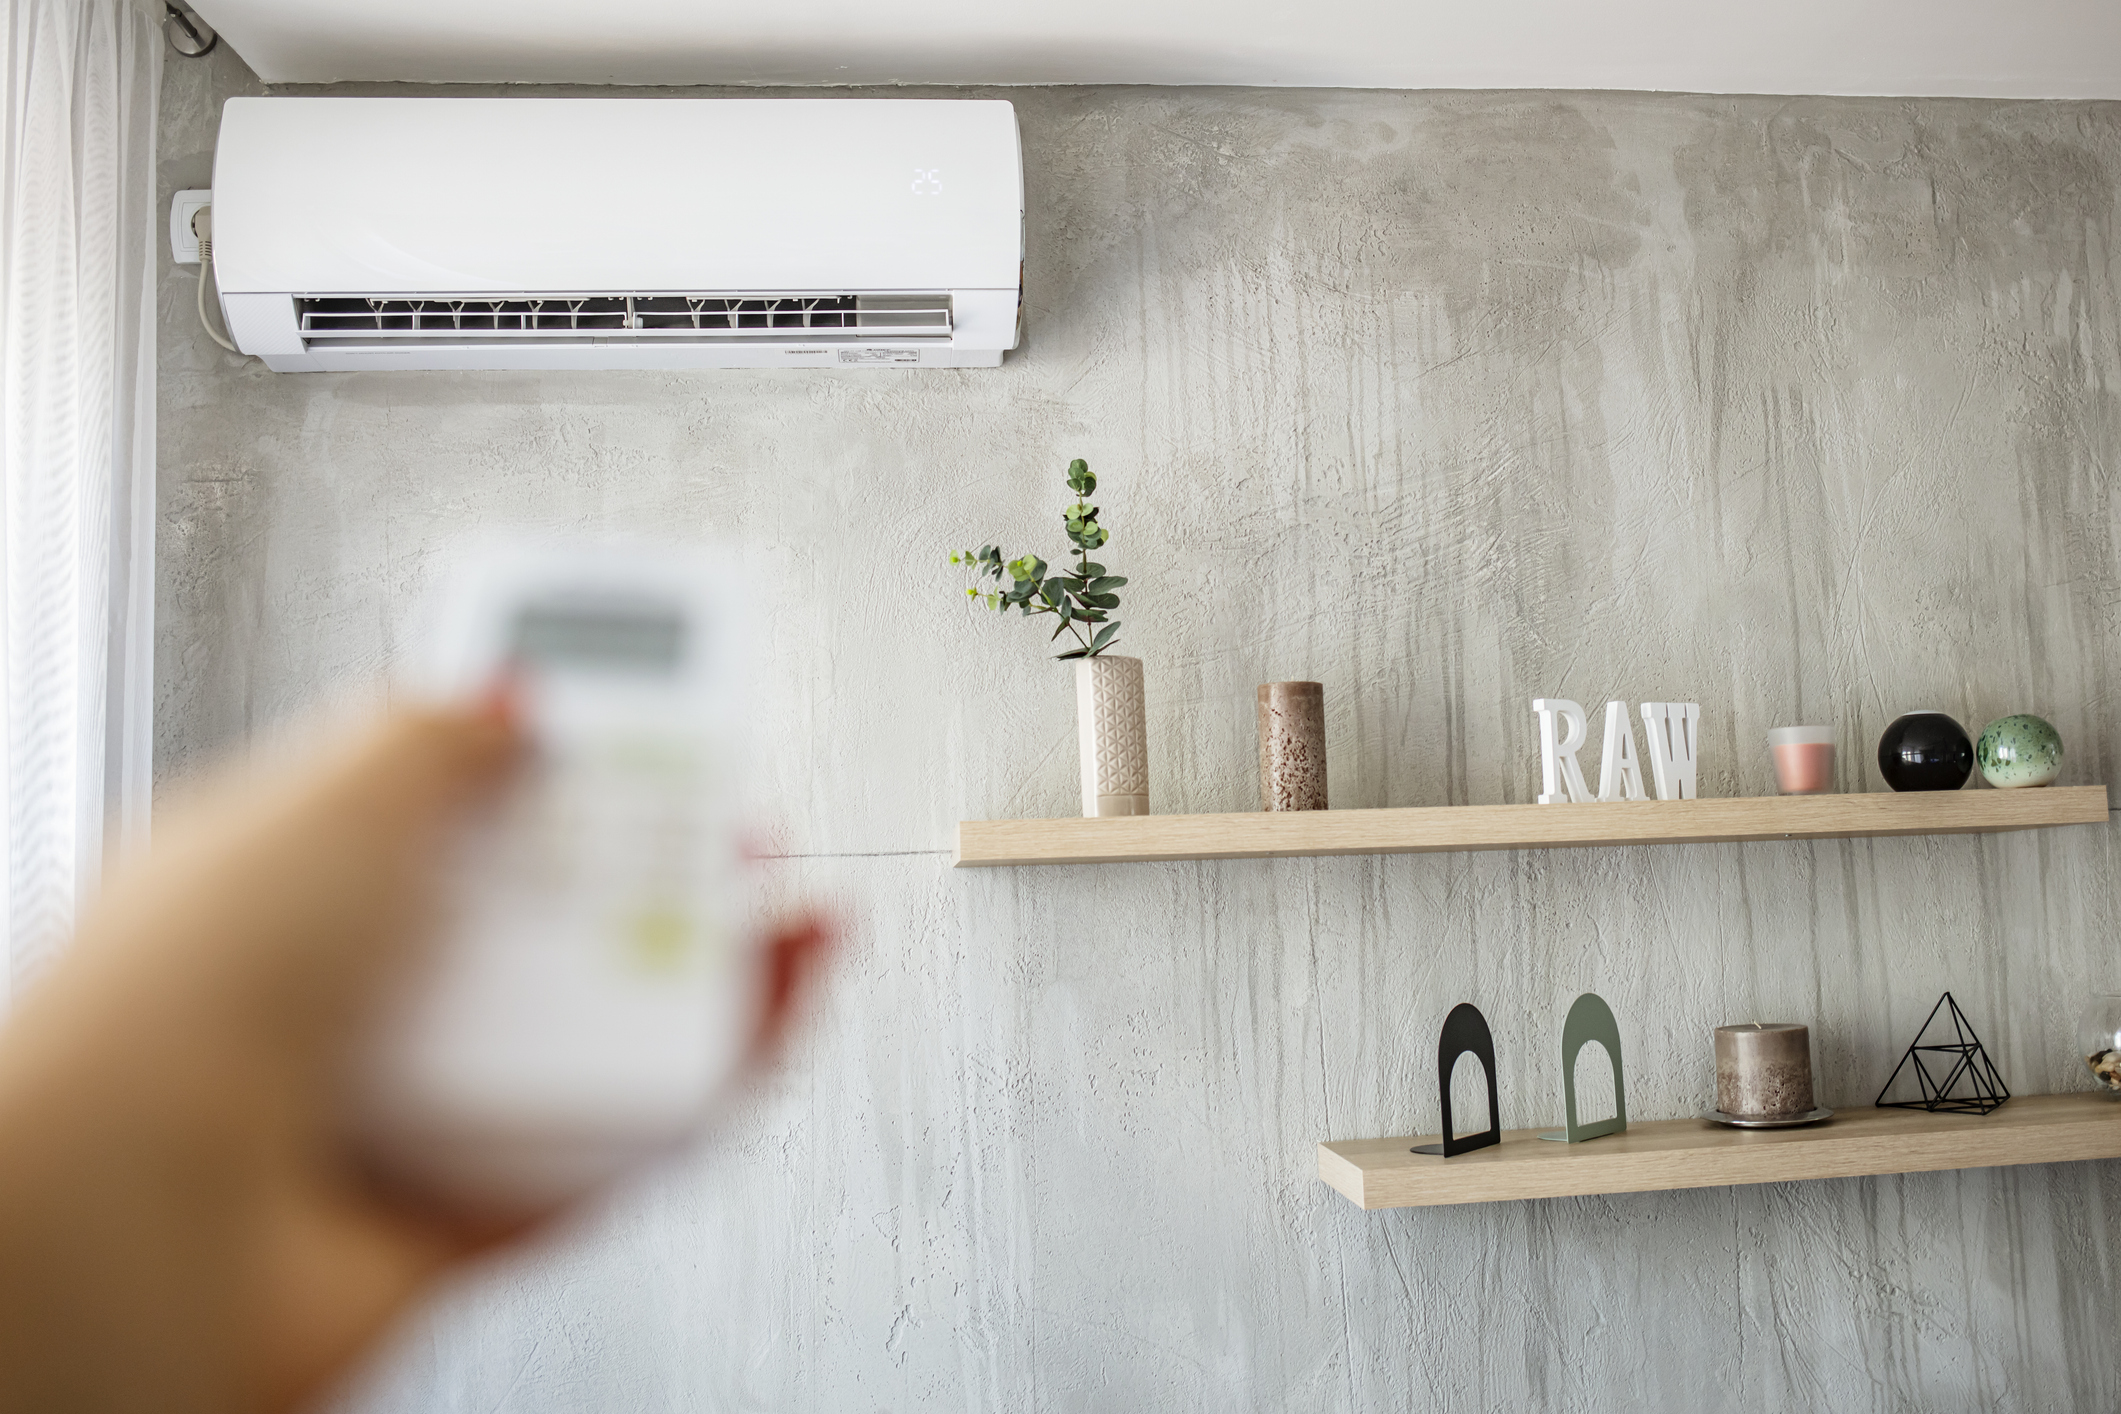
As temperatures rise, keeping your home cool and comfortable becomes a top priority. Traditional HVAC systems can be costly and challenging to install, especially in older homes or additions without existing ductwork. Ductless systems offer a flexible and energy-efficient alternative. This complete installation guide will walk you through the benefits, planning, installation process, and maintenance tips for ductless mini-splits.
1. Understanding the Benefits:
Ductless systems provide several advantages over traditional HVAC systems, making them an increasingly popular choice for homeowners.
Energy Efficiency:
Ductless systems are known for their high energy efficiency. By eliminating the need for ductwork, they reduce energy losses typically associated with ducted systems. Additionally, many models feature advanced inverter technology, which adjusts the compressor speed to maintain the desired temperature more efficiently.
Zonal Cooling and Heating:
One of their significant benefits is the ability to control the temperature in individual rooms or zones. This zonal control not only enhances comfort but also allows for energy savings by cooling or heating only the occupied areas.
Improved Indoor Air Quality:
They offer better air quality due to their advanced filtration systems. They capture dust, pollen, and other airborne particles, ensuring cleaner air. The absence of ducts also means less opportunity for mold and dust buildup, further enhancing indoor air quality.
2. Planning for Installation:
Assessing Your Needs:
Before installing a ductless mini split, evaluate your cooling and heating needs. Consider the size and layout of the space, as well as the number of zones you require. This assessment will help determine the appropriate capacity and number of units needed for optimal performance.
Choosing the Right System:
There are various mini-split models and configurations, including single-zone and multi-zone systems. Research different brands and models, considering factors such as energy efficiency ratings, features, and warranty options. Consulting with a professional can help you make an informed decision.
Location and Placement:
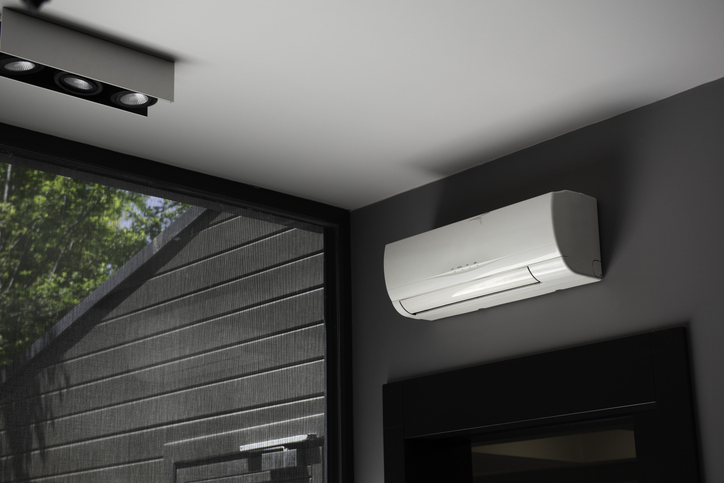
Proper placement of the indoor and outdoor units is crucial for efficient operation. Indoor units should be installed on an exterior wall, ideally in a central location within the room. Outdoor units should be placed on a stable, level surface with adequate clearance for airflow and maintenance.
3. The Installation Process:
Hiring a Professional:
While some DIY enthusiasts may be tempted to install a ductless mini split system themselves, professional installation is recommended to ensure optimal performance and efficiency. Certified technicians have the expertise and tools required to handle the installation correctly and safely.
Installing the Indoor Unit:
The indoor unit is mounted on the wall using a mounting bracket. A hole is drilled through the wall to run the refrigerant lines, power cables, and drain hose to the outdoor unit. The unit is then securely attached to the bracket, and the lines and cables are connected.
Setting Up the Outdoor Unit:
The outdoor unit is placed on a stable surface, such as a concrete pad or wall-mounted bracket. It is essential to ensure proper airflow around the unit by maintaining sufficient clearance. The refrigerant lines, power cables, and drain hose from the indoor unit are connected to the outdoor unit.
Connecting Refrigerant Lines and Electrical Wiring:
Connecting the refrigerant lines involves attaching the flared ends to the appropriate ports on the indoor and outdoor units. It is crucial to ensure tight, leak-free connections. Electrical wiring involves connecting the power supply to both the indoor and outdoor units, following the manufacturer’s instructions and local electrical codes.
Vacuuming and Charging the System:
Once the refrigerant lines are connected, the system must be vacuumed to remove any air and moisture. This step ensures the refrigerant can circulate efficiently. After vacuuming, the system is charged with the appropriate amount of refrigerant, as specified by the manufacturer.
Post-Installation Tips:
Testing the System:
After installation, the system should be thoroughly tested to ensure it is functioning correctly. Check for any leaks in the refrigerant lines, verify electrical connections, and confirm the system responds to thermostat settings.
Routine Maintenance:
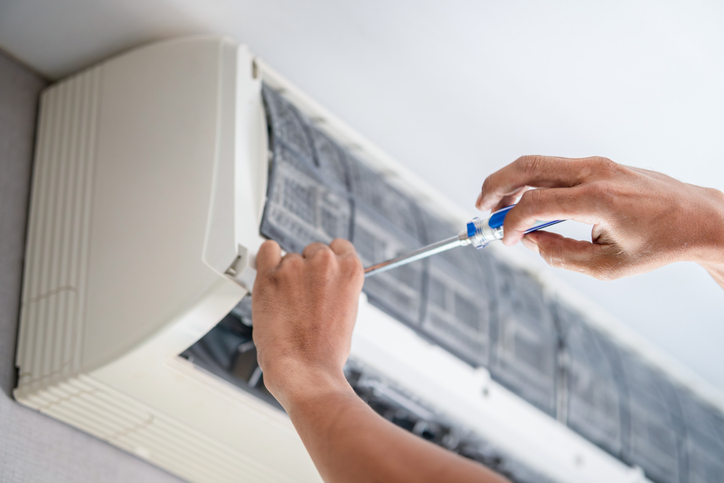
Regular maintenance is essential to keep your ductless system running efficiently. This includes cleaning or replacing air filters, inspecting and cleaning the indoor and outdoor units, and checking refrigerant levels. Scheduling annual professional maintenance can help identify potential issues early and extend the system’s lifespan.
Troubleshooting Common Issues:
Understanding common issues that can arise with ductless systems can help you address them promptly. These may include refrigerant leaks, sensor problems, or issues with the remote control. For troubleshooting assistance, refer to the user manual or consult a professional.
Ductless mini splits offer a versatile, energy-efficient solution for maintaining a comfortable home environment. By understanding the benefits, planning for installation, following proper installation procedures, and maintaining the system regularly, you can enjoy the advantages of a ductless units for years to come. Investing in professional installation and routine maintenance will ensure your system operates at peak efficiency, providing reliable comfort and improved indoor air quality.
Ready to upgrade to a more efficient and comfortable cooling solution? Contact our experts at RMR Air Conditioning, LLC at (813) 778-3993 today to schedule your ductless mini splits installation and start enjoying the benefits of a modern, energy-efficient system in your home!


